

This step is mostly optional. A leather product will likely work perfectly well without beveled edges or grooved stitch lines, at least for a while. Some people might also prefer the aesthetic that comes from skipping this step. I, however, prefer to include these elements.
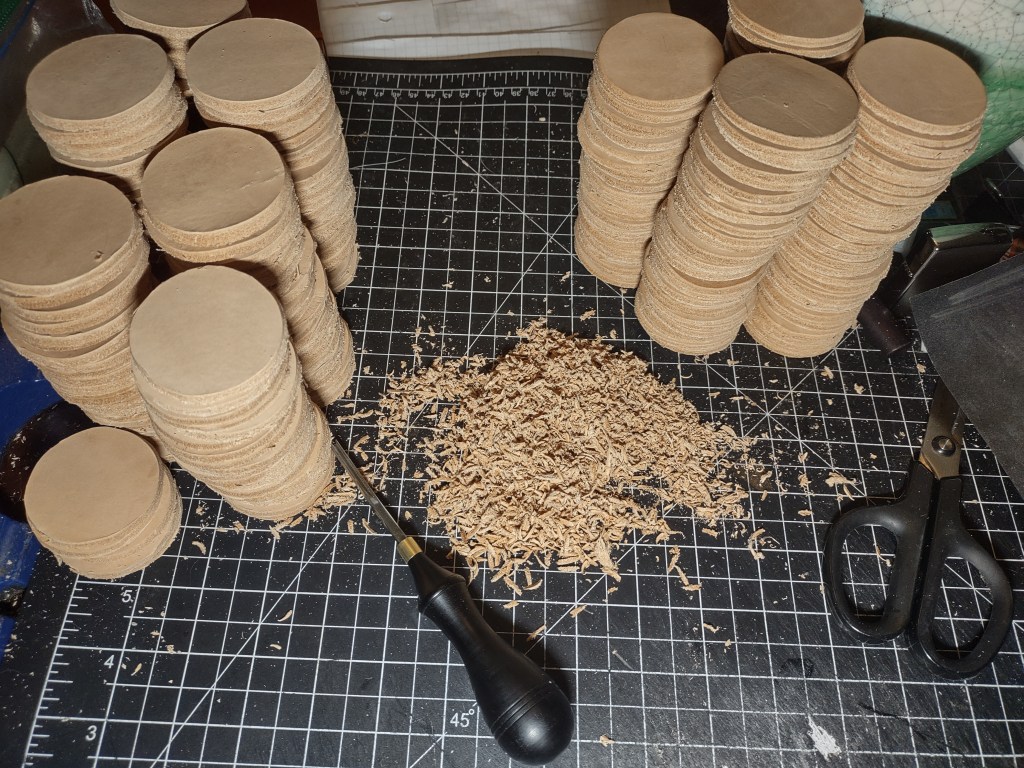
Beveling a project’s edges brings a lot of benefits. First, it tidies up a lot of the little mistakes that happen during the cutting step. Ragged bits are smoothed over and if there’s ink leftover from transferring the pattern, you’ll likely shave that off here. A beveled edge simply looks more intentional and more finished than a sharp edge. If you intend to burnish your edges down the road, this a beveled edge provides a much better surface than a sharp edge. A beveled edge even improves your project’s durability. A sharp edge is much more likely to show damage and the fine edge of an un-beveled piece will be more vulnerable to cracking. Finally, a beveled edge just feels nicer in the hand, at least in my opinion, and my opinion does tend to be the final arbiter of what I do or don’t do for my projects. (I would of course be willing to skip this step if someone were to request it for a custom, some people really do prefer the unbeveled aesthetic.)
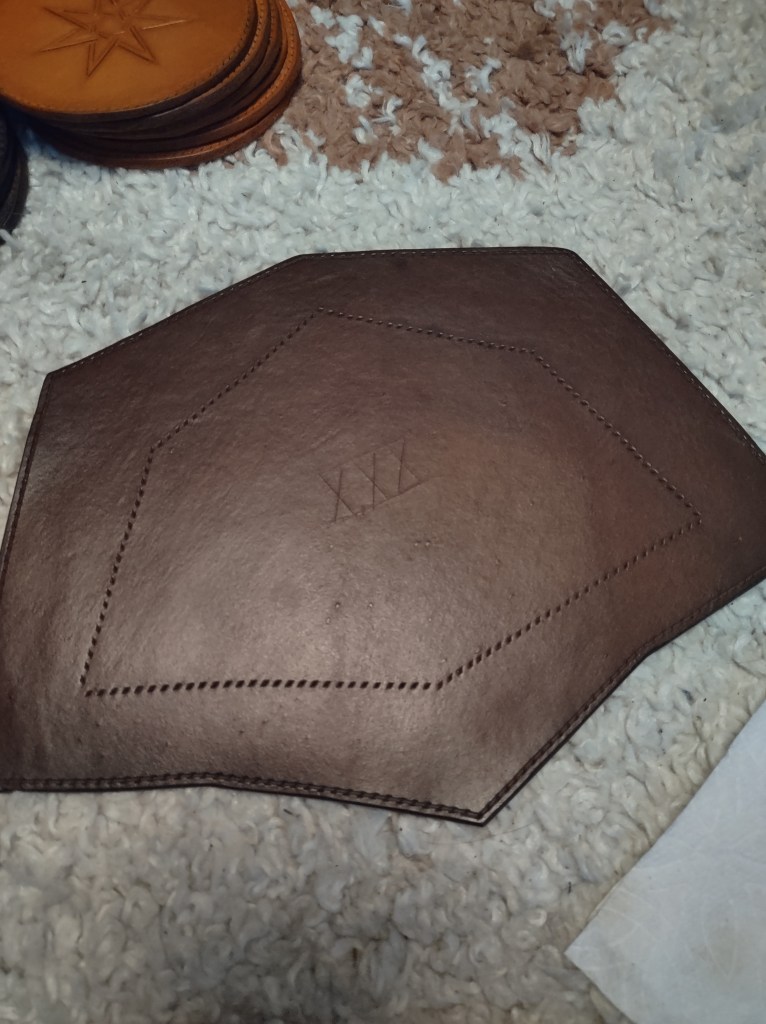
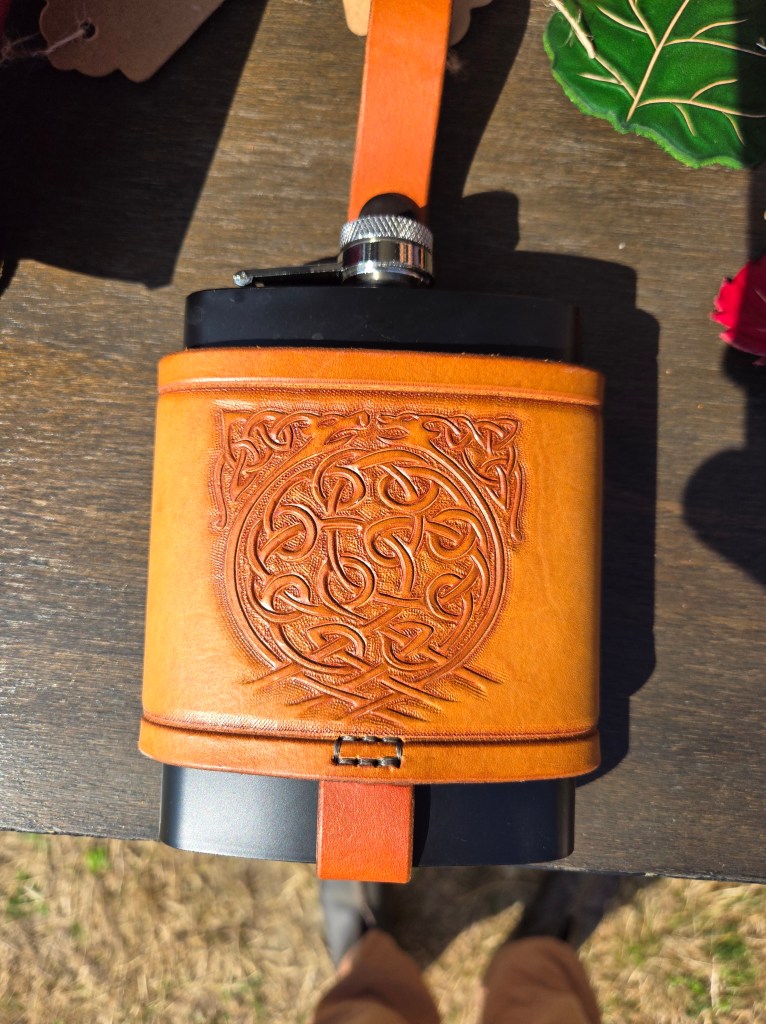
After my edges are cleaned up, I move on to grooving. Depending on a project’s specific needs, grooving may be a matter of using the actual grooving tool to create a rebate for eventual stitching, or it may mean running my swivel knife along the edge to create a purely aesthetic border. In the images below, you can see these differences directly. The image on the left is the lower layer of a bracer. I generally make these with stitching along the edges to protect the edges from deforming and for aesthetic continuity. Since the stitches along the edges are exposed, I run the grooving tool which will allow the thread to sit flush with the surface of the leather which in turn protects the thread from snagging and general wear and tear (you can see the final result of stitching grooves in the image on the right where the strap joins the flask wrap). More on stitching in later steps, but this step lays that foundation.
The image on the left demonstrates purely decorative grooving. The grooving tool is useful for creating these since it has the handy little indexing arm, or you can use that tool to trace a faint line and then run a swivel knife along that line. Either way, this can then be tooled to create depth and/or texture.
Whether I’m using a grooving tool or a swivel knife to make these lines, I like to make my final cuts with a steel ruler along any straight edge. Though not strictly necessary, the increased precision will be noticeable in the end result. It’s always true that little anomalies will pop up along the creation process of any project so every step you can take to avoid or overcome those anomalies will make for a cleaner, more pristine final product. The devil remains firmly entrenched in the details of this and every other part of this process; but that’s just one of the challenges that make it fun.
